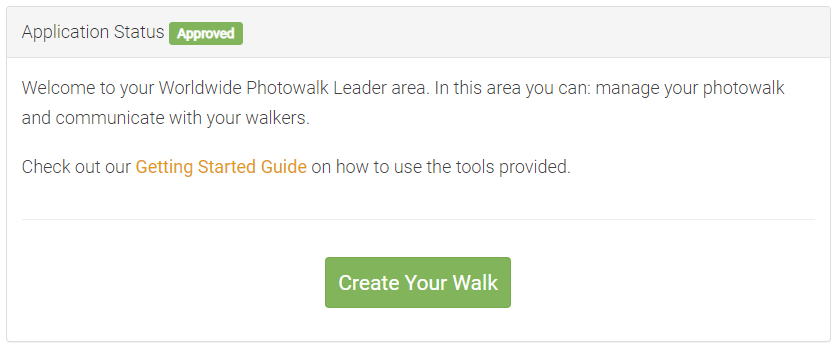
- From the Leader Dashboard, click the Create Your Walk button.

- Add a Photo Walk Title in the input box provided.

- Enter a street address into the starting location field and click Search. The Google Map will display a red marker at that location on the map based on the address you provided. To adjust the starting location, enter a different address into the field and click Search again.

- Just like the starting location, enter a street address into the ending location field and click Search. To adjust the ending location, enter a different address into the field and click Search again.

- Fill out the Meeting Details section. First, choose your start time (around 10-15 minutes before the walk starts) and ending time (about two hours after the walk starts). Next, let your walkers know where you’ll be meeting. “Outside the coffee shop,” “At the courthouse steps,” “At the visitors center,” or something like that. Also let them know where you’ll be meeting after the walks ends, to review your photos together.

- Next, fill out the Photo Walk Description section. Enter a brief paragraph or two about your plans for the walk, some background about yourself, or even some tips for your Walkers.

- Set a Featured Image for your walk by clicking on the Choose File button. This will open up a file selector window. The picture should be of yourself, either a professional portrait or something more creative. NOTE: The image is required to be 400px by 286px or larger in size.

- Next, select the image file that you wish to upload and then click the open button.

- When you are finished filling out all of the information for your Photo Walk and you have set a featured image, click the orange Submit Walk button to publish your Photo Walk.


